
We explained how to create new Swift code using Swift and UIKit without using Storyboard with code only.
Recently, SenceDelegate.swift was newly created, and there were no hits when searching for “swift code only,” etc., and Xcode 16.0 and Swift 6,0 were available when I checked in December 2024, so I put this together.
We hope this will be helpful.
Xcode and Swift versions
Xcode: Version 16.0
Swift: Version 6.0
Completion diagram
This is the app we created this time. (It is a simple app with only one button implemented.)

App Implementation
Launch the project
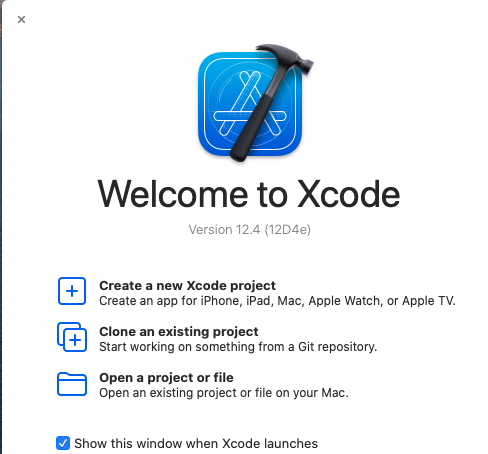
Launch Xcode and select Create a new Xcode project.
Project Settings
Select Producut Name, enter an app name of your choice, and select Next to choose a folder to save the project.
Select Storyboad for Interface and UIKit App Delegate for Life Cycle.
Either check box for Use Core Data is fine.

In case of Xcode16.0, the following default settings are used instead of SwiftUI, as shown in the image below.

The SwiftUI wave is coming…
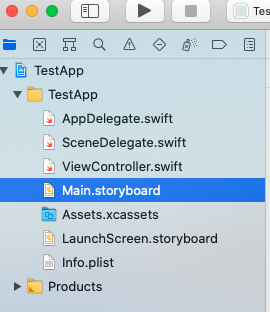
Delete Main.storyboard
Delete Main.storyboard in the navigator area from the project.
(You don’t have to do this, but I am deleting it because it is easier for me to understand.)
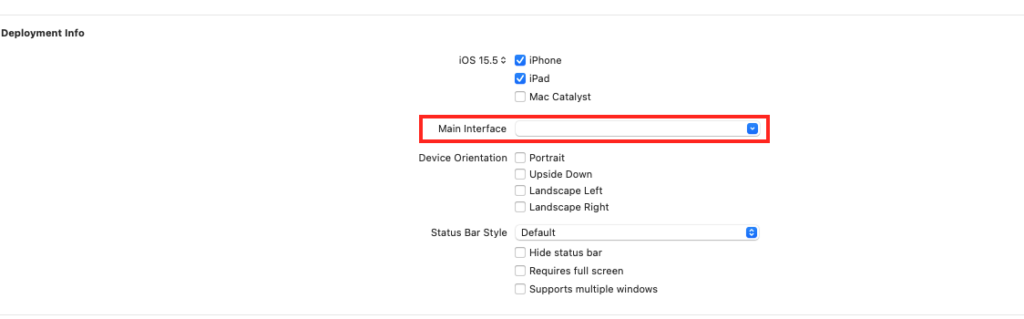
Main Interface settings (Xcode: Version 12.4)
In case of Xcode 16.0, this is not necessary.
1) Select the app name in the navigator area (in this case, “Test.APP” at the top of the above 2) Empty TARGETS / General / Deployment Info / Main Interface.
(Select TARGETS with PROJECT and TARGETS to display)
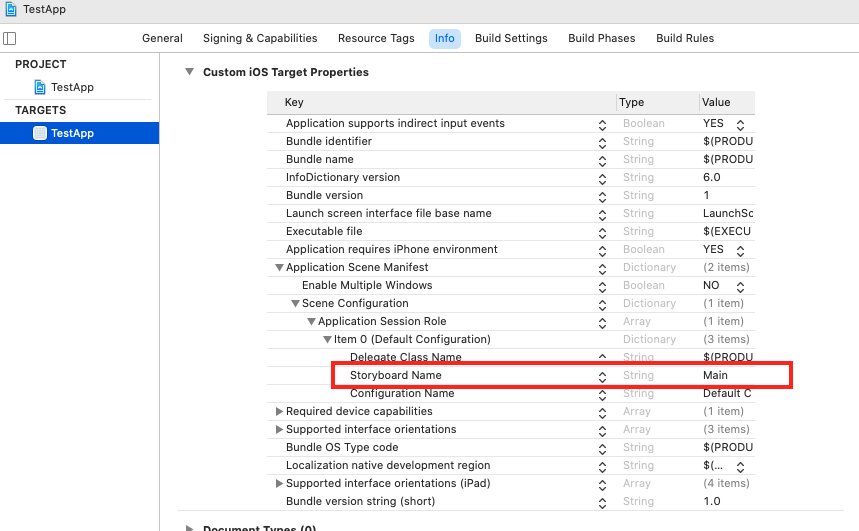
info area settings
IExpand the following accordion menu and delete the specified items in order to implement Info settings.
Select
①TARGETS / info/ Custom iOS Target Properties / Application Scene Manifest
②Scene Configuration → Application SessionRole → Item 0(default) Configuration)
Delete the Storyboard Name (press the + and – buttons when you place the cursor on the Storyboard Name.)
Could not find a storyboard named ‘Main’ in bundle
In case of Xcode16, the following error message is displayed when building.
Could not find a storyboard named 'Main' in bundleTo fix this, delete the ‘Main‘ setting.
Place the cursor over TARGETS/ Info / Custom iOS Target Properties/ Main storyboard file base name, the + and – buttons will appear.

SceneDelegate.swift setting
From here, we will start setting up the code.
First, in SceneDelegate.swift, modify the func scene() that is initially displayed as follows.
    func scene(_ scene: UIScene, willConnectTo session: UISceneSession, options connectionOptions: UIScene.ConnectionOptions) {
        // Use this method to optionally configure and attach the UIWindow `window` to the provided UIWindowScene `scene`.
        // If using a storyboard, the `window` property will automatically be initialized and attached to the scene.
        // This delegate does not imply the connecting scene or session are new (see `application:configurationForConnectingSceneSession` instead).
        guard let _ = (scene as? UIWindowScene) else { return }
    }
Modify the above code as shown below.
This is just an example and is not absolutely correct.
    func scene(_ scene: UIScene, willConnectTo session: UISceneSession, options connectionOptions: UIScene.ConnectionOptions) {
        // unwrap UIwindwos
        guard let windowScene = (scene as? UIWindowScene) else { return }

        // set the unwrapped one WindwoScece to self
        let window = UIWindow(windowScene:  windowScene)
        self.window = window

        // select root view
        window.rootViewController = ViewController()
        // Display "window" at the forefront
        window.makeKeyAndVisible()
    }
ViewController.swift設定
最後に、ViewController.swiftのviewDidLoad内に下記コードを追加します。
import UIKit
class ViewController: UIViewController {

    override func viewDidLoad() {
        super.viewDidLoad()
        view.backgroundColor = .white
        let button = UIButton(frame: CGRect(x: 100, y: 100, width: 100, height: 100))
        button.backgroundColor = .red
        button.setTitle("Test", for: .normal)
        view.addSubview(button)

    }
}
Confirmation in the Simulator
As a confirmation, the following results were obtained by running the simulator.

Finally
we can see the following result.
I think this is a very simple setup, but there are updates from time to time, so I hope to update it as much as possible.
If you have any build problems, please send me a message on Twitter and I will do my best to fix it.
See you soon.

Comments